Monday, 27 October 2008
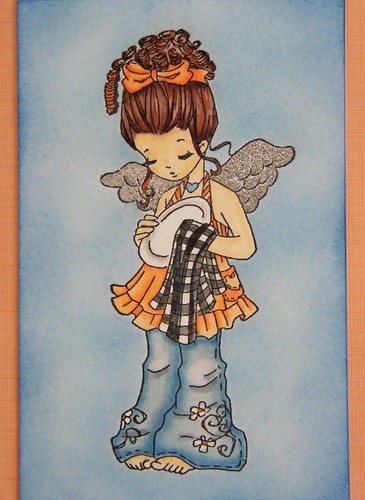
Blue & Orange Whiff of Joy card
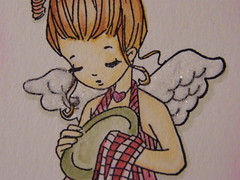
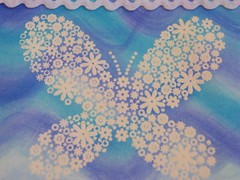
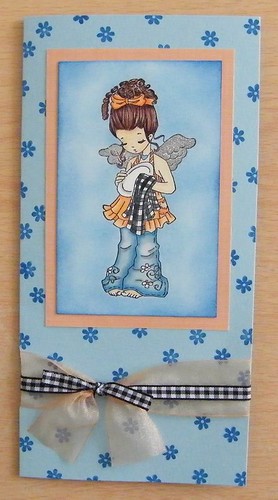
Close up of the image:
I love coloring this stamp. It is so much FUN! I made the card blue and orange for the challenge at artygirlzchallengeblog.blogspot.com. I left the card without a message, because the image is so versatile it could be several things; a thank you or a thinking of you card are my first impression.
Materials:
Whiff of Joy stamp: Melinda Helping Angel
Whisper markers
Chatterbox orange patterned paper
Penny Black flower stamp (from Salutations set)
silver glitter
blue inkpad
ribbon
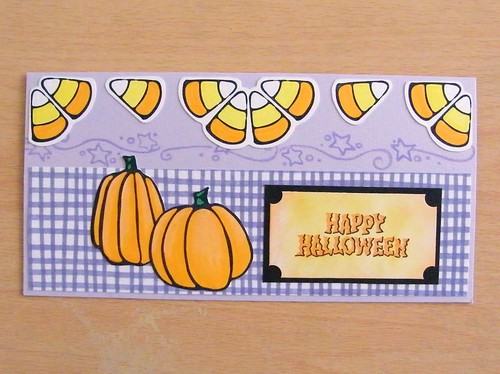
Halloween cards are TRICKY! :)
Halloween cards are not easy. I have one halloween set, so that doesn't help. Does anyone else have this Inque Boutique set? It's great; I got it for the star border really. I made this one for the Halloween challenge at A spoonfull of sugar challenge.
One tip: I used my SU scallop punch to take a notch out of the corners.
Materials:
Inque Boutique stamps - Happy Halloween set
Happy Halloween foam stamp
Stampin' Up scallop punch
Whispers markers
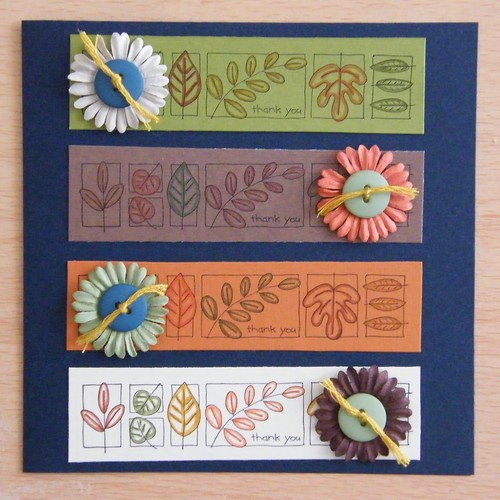
Nature Thank you card
I made this simple card for the Nature challenge over at abc-challenge.blogspot.com. If anyone has used this stamp, or seen it used, I would love to see what others have done with it. I struggle with the size and shape of it.
Materials:
Stampin' Up - A little bit of happiness
Stampin' Up buttons
Prima flowers
Whisper markers
Thursday, 23 October 2008
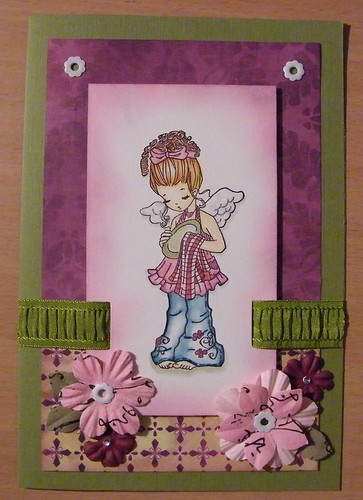
My first Whiff of Joy!!!
This is my very FIRST Whiff of Joy stamp. I am so thrilled. I have been drooling over these stamps ever since before they came out. I was so lucky to win one off of Katharina's blog last week. I used her sketch to make this card for Stamp Something's challenge.
Whiff of Joy stamp: Melinda Helping Angel
Patterned paper: FancyPants (purple) and Basic Grey
Bazzil Cardstock
Making memories ribbon
Prima flowers
papermania eyelets
Whispers markers and aqua-pen
Sketch by Katharina:
Wednesday, 22 October 2008
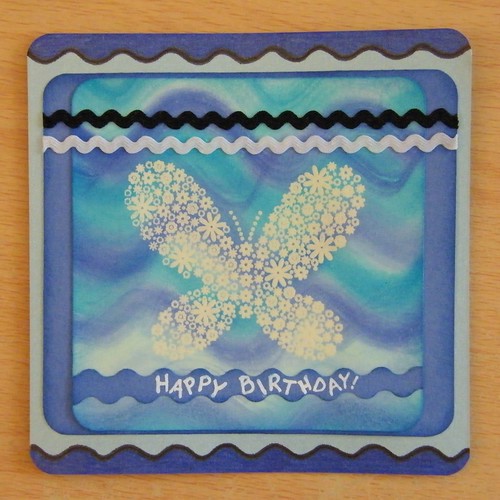
Blue butterfly card - baby wipe technique
I used the baby wipe swipe technique to make this card. If you don't know what I mean, I found a youtube video that shows this technique. I don't have any re-inkers, so I just colored the baby wipes with my whisper markers.
I liked adding more and more 'waves' to this card. Ric-rac, decorative scissors, and a wavy stencil with a marker. This was a very quick card; very little thinking involved. :)
Materials:
Stampin' Up stamp
clear embossing powders
white and blue paper
blue card blank
decorative scissors
ric-rac
PaperCraft Inspirations magazine stencil
Sharpie markers
Rach is giving away a blog candy.
over at: http://papercraftsbyrach.blogspot.com/
Isn't it just scrumptious???
And if you've never visited her site before, check out her amazing cards.
Tuesday, 14 October 2008
Whiff of Joy blog candy at Le blog de Scrapmumur
I can't speak French, but the cards over at Le blog de Scrapmumur are gorgeous. At the moment, she's got a lovely blog candy: check it out!
<----
<----
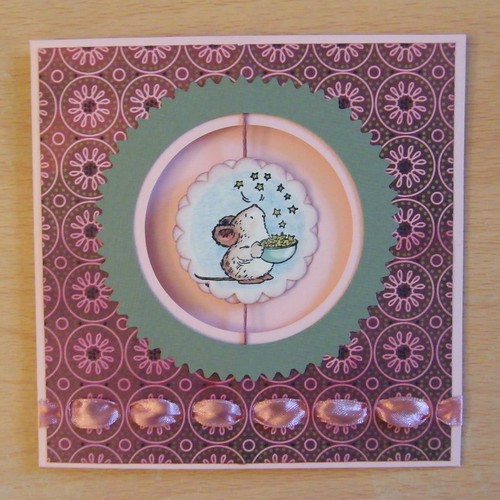
Penny Black Suspension card
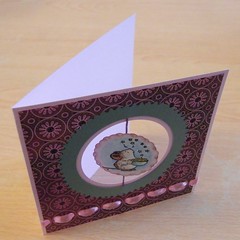
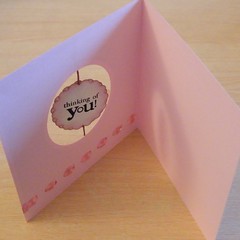
Here's another creation I made for World Card Making Day and the challenges over at In Love With Stamping (a UK stamping community). Their challenge was to make a card that moves; I chose to make a suspension card, because the middle part can spin. (And because I only know a few techniques to make a card move.)
I've never made a suspension card before this, so I'm happy about how quickly I was able to put it together. I usually have to mess up a few times with new techniques. Even cutting out the green paper with the decorative scissors, I did it in one go. I did have to color the mouse twice, but that was a quick mistake to fix.
It says 'Thinking of you' on the opposite side.
Materials:
Penny Black 'Bubbly' and 'Salutations' sets
Fiskars circle cutter
SU scallop circle punch
decorative scissors
hole punch (crop-o-dile)
Basic grey patterned paper
coloured pencils
Whispers marker (for the bowl)
Sakura yellow glitter gel pen
embroidery thread
ribbon
Sunday, 12 October 2008
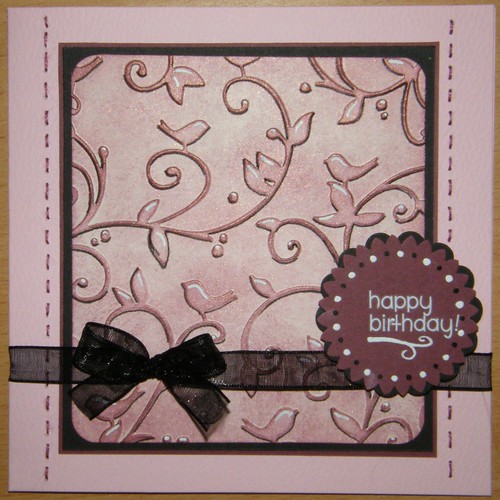
Burgundy Birds Card and matching Box
I had a busy World Card Making Day (last Saturday). The first things I made using my new Cuttlebug folder (Birds and Swirls).
I have a Quickutz Revolution so it's not designed to be compatible with other companies; I used thin bits of plastic instead of the embossing mat (which is too thick) and had to run it through the machine twice, embossing the top first and then the bottom the second time through. (If I had the new 12" platform, I would only need to run it through once.) It's no problem, however; it just takes 2 minutes instead of 1 to emboss.
So here's what I made:
1- I embossed cream paper with the Cuttlebug folder and then I used the Brilliance inkpad and a sponge to highlight the embossed parts.
2- I used a black pen for adding shadows and white uniball Signo pen for highlights. Then I rounded the corners and matted the paper.
3- I stitched the left and right sides with burgundy coloured embroidery thread. Then I glued the papers down and added a bow (which is easier to say than do).
4- For the message, I used SU scallop punch once with black and twice with the burgundy paper. Then I added rub-on letters and drew a small swirl and dots.
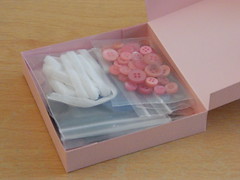
I used the same techniques to make this mini box out of a card blank.
The box holds ribbons and buttons for my friend.
Materials:
Black, cream, and burgundy papers
Pink card blank
Cuttlebug embossing folder 'Birds and Swirls'
Brilliance Inkpad 'Crimson Copper'
Black pen
White pen (uniball Signo)
corner rounder
embroidery thread
black ribbon (sheer)
SU scallop circle punch
Doodlebug rub-ons
Foam dots
More projects coming soon.
Monday, 6 October 2008
Another blog candy find.
Lim has got a great blog candy over at her blog: lim-thevoicesinmyheadlimblog.blogspot.com
She's also looking for help to store her stamps. I've shared with her my current method and there have been plenty of other good ideas in her comments section.
Saturday, 4 October 2008
Happy World Card-Making Day!
I didn't even know until I opened a crafty email this morning. Luckily, I am SO ready to make some cards today. I went to The Paper Mill shop yesterday. Look at all the goodies I got (and it was under £20)! *I got the sharpies at another shop for 99p.
You can't tell, but three out of the four ribbons that I bought are FUZZY! I got 5 yards on each roll, so I couldn't fit it all on one of my embroidery thread spools. So I did two yards on each and set aside a yard (in the baggies) to give to my friend.
I'm sorry you can't see the cuttlebug embossing folder pattern. It's called 'Birds and Swirls' and it is so pretty, and perfect for me (I've got two budgies, so I love anything with birds). I'll be making something with it really soon.
It's also my very first embossing folder. I have a Quickutz Revolution, so I wasn't sure it would be compatible. It doesn't work with the embossing mat, but I've gotten around that little detail. I'm planning to do a video showing how I made it work for me.
Leave me a message if you make anything for World Card Making Day! I'll make sure to comment. :)
Subscribe to:
Posts (Atom)